3MF or STL for a personalised multicolour print?
4th Nov 2026 - by Andy Griffiths
For a personalised model with several coloured parts, a 3MF can keep more of the design together than a standard STL. That is why supported Infillery builders provide a 3MF download. You still need to prepare the file for your own printer.
What each format carries
| Question | Standard STL | 3MF |
|---|---|---|
| Does it describe the mesh? | Yes | Yes |
| Does it declare model units? | No standard unit declaration | Yes |
| Can it carry colour or material information? | Not in standard STL | Yes, when supplied and supported by the reader |
| Can a package retain several related parts? | Separate exports often need arranging again | Yes |
The 3MF Consortium’s format explanation describes these differences. Support for particular metadata and slicer-specific settings varies between applications.
A model file is different from a prepared printer job
A file ending in .3mf might contain model geometry, a slicer project with settings, or other supported manufacturing information. The extension alone does not establish which printer, nozzle, filament or profile is appropriate. An attractive colour preview is also not proof of successful slicing or a completed physical print.
With an Infillery download, inspect what your slicer actually imported. Select your own printer and process settings, check the units and dimensions, and map the parts to your available materials. Do not assume that importing a file also configures your machine correctly.
Why parts matter for a name keyring
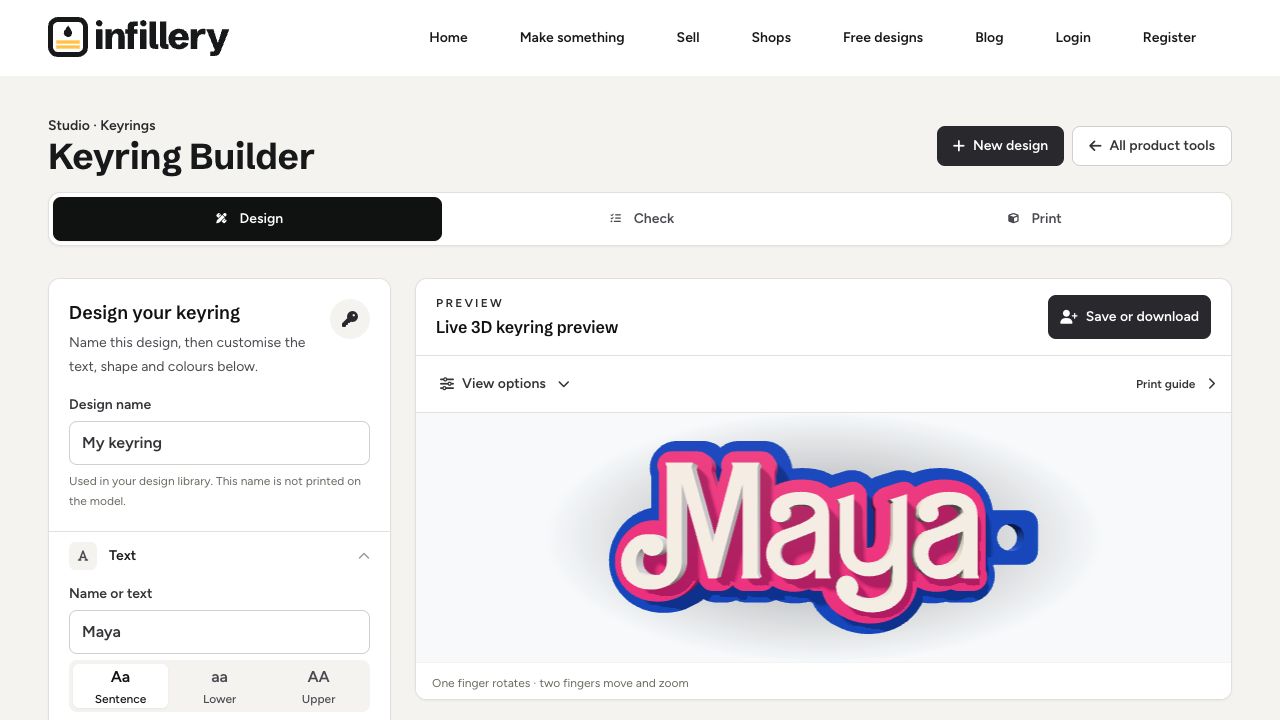
A keyring can have letters, an outline and a backing. Keeping those parts positioned together helps you see how the colours form the design. Converting everything into a single standard STL can discard colour assignments and other package information. Renaming the filename extension does not convert the contents.
If another tool requires STL, use a supported export or conversion workflow and inspect its result. Check which parts remain separate, whether their alignment and scale survived, and what information was lost. Keep the original 3MF so you can return to it.
Five checks before pressing Print
- Confirm the model is the intended size and orientation.
- Check that the expected parts imported and line up.
- Assign real filaments and select a compatible printer profile.
- Inspect sliced layers for missing details or unsupported regions.
- Print and check one sample before making a batch.
For a practical example, design a personalised name keyring, then inspect its downloaded file in your slicer. If your starting point is an image, see the artwork-to-SVG workflow first.