Prepare a logo or illustration for a small 3D print
4th Nov 2026 - by Andy Griffiths
A logo that reads clearly on a large screen can lose its character when made into a small physical object. Prepare the artwork for its intended size before spending time on colours and print settings.
Start with artwork you can use
Use your own design or artwork you have permission to reproduce. The ability to upload an image does not establish a right to print or sell it. A subscription does not grant rights in somebody else’s brand, character or illustration.
Give the converter clear boundaries
Choose an image with distinct shapes and a clear foreground. Shadows, gradients, textured backgrounds and soft edges can turn into extra shapes that do not help the finished print. If possible, use a clean source rather than a screenshot of a screenshot. Keep an untouched copy so you can compare later changes.
Decide which details carry the identity
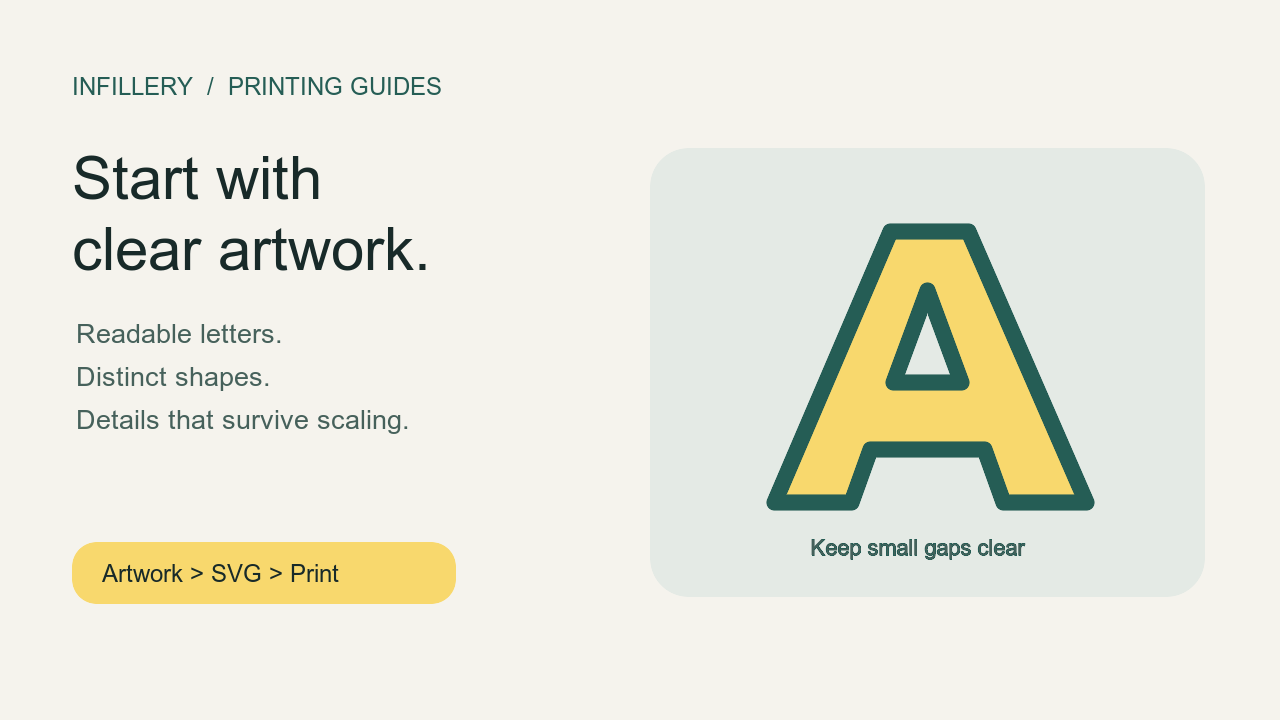
For a face, the eyes and mouth may matter more than decorative shading. For a logo, a small gap between letters may be essential. Make a short list of those features before converting. Simplifying a design should preserve what makes it recognisable; silently filling eyes or merging letters is not a successful repair.
Compare the image with the SVG
After conversion in Studio, inspect both the original image and the final vector. Look at the holes inside letters, the gaps between neighbouring shapes, thin outlines and small isolated pieces. If the vector changes a defining feature, repair the source or adjust the design and convert again. Do not continue simply because a preview was produced.
Check the size in the actual product builder
Place the saved artwork in a compatible builder and choose the intended physical dimensions. An SVG can scale smoothly on screen, but a printer still has to produce every small stroke and gap. A design that works on a large sign may need a simpler version on a charm.
If details become crowded, enlarge the design or remove nonessential decoration deliberately. Keep the important features visible. Printer setup, material and geometry affect the result, so an image-only check cannot establish a universal minimum printable detail.
Inspect the file after slicing
Open the completed print file in your slicer and inspect the layers that form the small features. Look for missing strokes, filled gaps and islands without the intended support. Test one physical sample at the smallest size you intend to use. Check appearance, handling and any attachment before making a batch.
Follow the PNG-to-SVG guide to convert your artwork in Infillery. For a project that only needs a name, the text-based keyring builder avoids the need to prepare a separate image.